So, today I want to walk you through a simple way to turn your outline into a finished, usable product without getting stuck in endless rewriting.
And I’ll share the exact prompts along the way so you can try the process yourself.
Hopefully, you completed the previous task (link below) and have your outline ready!
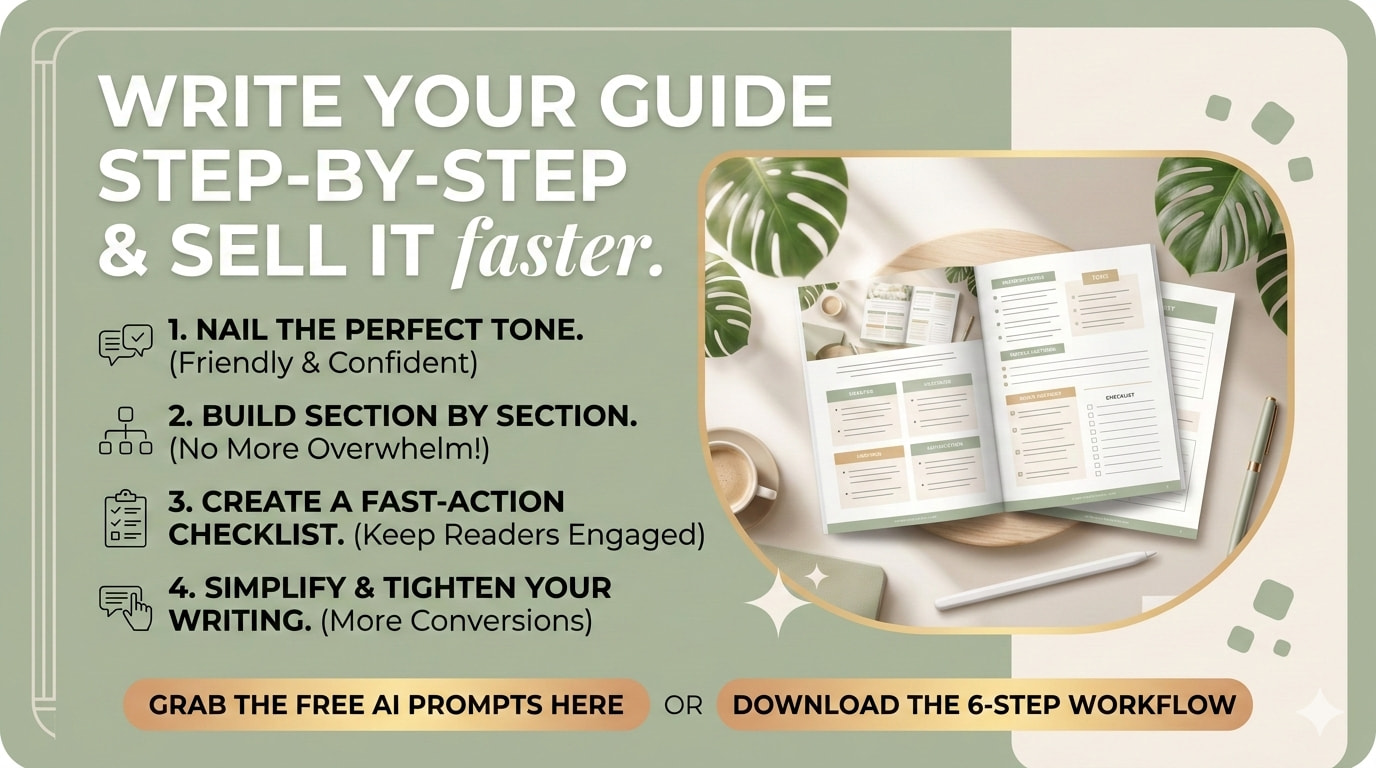
Step 1: Set the Tone Before You Write
Before you write the product, decide how it should sound.
This might seem small, but tone shapes everything that follows.
Is the voice formal? Friendly? Straightforward?
A helpful trick is to generate a short paragraph in the tone you want and use it as a reference for the rest of the product.
Here’s the prompt.
Prompt
“Before we begin writing, I want to define the tone for this product.
It should sound confident but not arrogant, friendly but not fluffy, and practical and direct.
It should feel like a knowledgeable friend explaining something useful, not a corporate manual.
Write one paragraph in this tone about [TOPIC] so we can use it as a reference.”
Once you have that paragraph, read it.
If it sounds like the voice you want, keep it. If it feels too stiff or too casual, adjust the prompt and try again.
Getting the tone right early often saves a lot of editing later.
Step 2: Write One Section at a Time
Here’s a mistake people make all the time.
They try to generate the entire product in one request.
The result is usually long, generic, and oddly forgettable.
A better approach is to build the product section by section.
Focus on one part of the outline at a time.
Here’s the prompt for that.
Prompt
“Write Section [NUMBER]: [SECTION TITLE] for this product.
Keep the writing practical and concise.
Use short paragraphs and include examples where helpful.
End with one clear action step the reader can take immediately.
Limit the section to 300 words.”
Once that section is finished, move on to the next one.
Piece by piece, the product takes shape.
Step 3: Tighten the Section
After writing each section, run a quick edit.
Most first drafts are slightly longer than they need to be.
A simple trimming pass can make the writing clearer.
Here’s the prompt for that.
Prompt
“Rewrite this section so it is about 20% shorter and more direct.
Remove anything that does not clearly help the reader.
Keep the examples and the action step.
Focus on clarity and simplicity.”
This step removes repetition and keeps the writing focused.
Step 4: Write the Introduction Last
Many people try to write the introduction first.
But it’s usually easier after the rest of the product is complete.
At that point, you understand exactly what the guide delivers.
Here’s the prompt.
Prompt
“Write a short introduction for this product (under 200 words).
Begin with the problem the reader is facing and acknowledge why it can be frustrating.
Then explain that this product offers a clear and practical way to address it.
Avoid long backstories and keep the focus on what the reader will gain.”
Now the introduction becomes simple and direct.
Step 5: Add a Quick-Start Checklist
One of the most useful things you can add is a quick-start checklist.
When someone opens your guide, they should immediately know what to do first.
This checklist provides that.
Here’s the prompt.
Prompt
“Create a Quick-Start Checklist for this product with 8–12 steps.
Each step should be specific and action-oriented.
Use plain language and avoid vague instructions such as ‘do research.’”
A checklist like this makes the product feel practical right away.
Step 6: Write the Closing Page
Finally, finish with a short closing page.
Think of it as the final conversation with your reader.
Thank them, remind them of the most important next step, and show them where to go next.
Here’s the prompt.
Prompt
“Write a short closing page for this product (under 150 words).
Thank the reader, remind them of the most important next step,
and direct them to [YOUR NEXT OFFER / EMAIL LIST / RELATED PRODUCT].
Keep the tone warm and straightforward.”
Closing
When you follow this process, something interesting happens.
The project stops feeling overwhelming.
Instead of trying to write an entire product at once, you simply complete one section… then the next… and then the next.
And before long, you have a finished guide.
An introduction. Clear sections. A quick-start checklist.
And a closing page that points readers forward.
Not a complicated system. Just a steady, practical way to build something useful.
And honestly, that’s usually enough.
Next time, we look at an important step - Turn Your Draft Into Something People Will Pay For